
What you will accomplish
Create a scoped API key, call the supported public API, and handle errors without exposing secrets.
Before you begin
- You need an AyuChat workspace.
- Your role must allow API key management.
- Use server-side code. Never place an AyuChat API key in browser JavaScript, mobile app bundles, or public repositories.
Step 1 - Create an API key
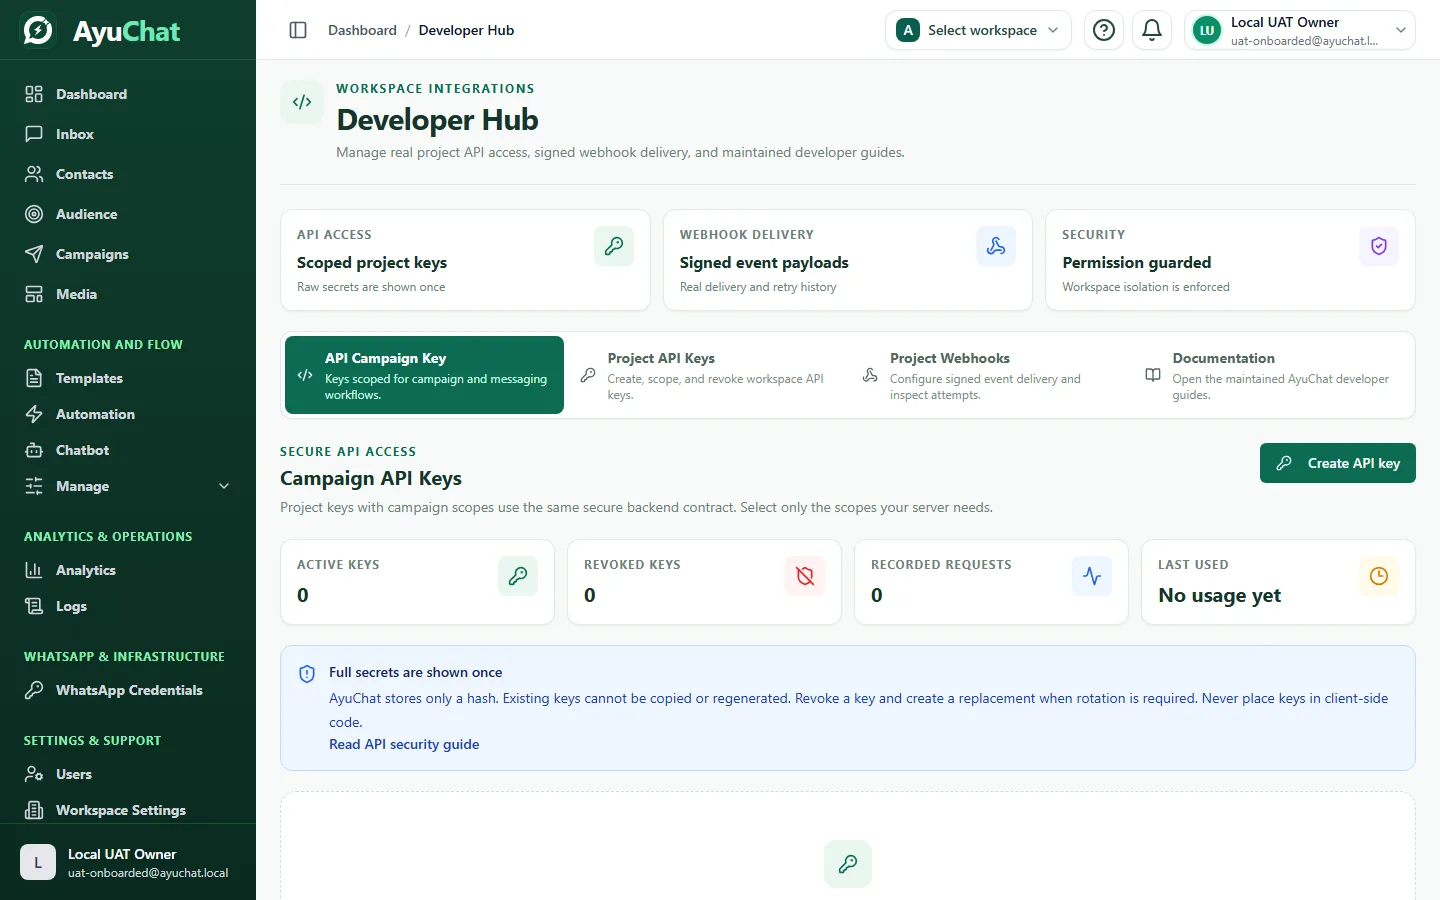
- Open Developer Hub.
- Open Project API Keys.
- Generate a key with only the scopes your integration needs.
- Copy it immediately and store it in a server-side secret manager or environment variable.
Step 2 - Use the base URL
https://api.ayuchat.in/apiStep 3 - Make your first request
curl -s https://api.ayuchat.in/api/public/contacts \
  -H "Authorization: Bearer YOUR_API_KEY" \
  -H "Accept: application/json"
Step 4 - Create a contact
curl -s -X POST https://api.ayuchat.in/api/public/contacts \
  -H "Authorization: Bearer YOUR_API_KEY" \
  -H "Accept: application/json" \
  -H "Content-Type: application/json" \
  -d '{"name":"Demo Contact","phone":"+919999999999","email":"demo@example.com","source":"crm"}'
Step 5 - Understand responses
Successful list endpoints return a JSON envelope with success and paginated data. Create contact returns HTTP 201. Send-template returns HTTP 202 with a queued message id.
Error handling
| Status | Meaning | Fix |
|---|---|---|
| 401 | Invalid, revoked, expired, or missing API key. | Check the key and environment. |
| 403 | API key lacks the required scope. | Create or update a key with the required scope. |
| 404 | Workspace resource not found or not accessible. | Verify the id belongs to the API key workspace. |
| 422 | Validation failed or contact opted out. | Fix request fields or respect opt-out state. |
Next step
Read the API reference and outbound webhook guide before moving from a local integration to production traffic.